This guide will show you how to use the "Shopr Carousel" widget in your theme using our Shopr plugin. Before setting up this widget, you should first create some products and assign them to a collection via this guide. After that is ready, you will be able to display those products in this widget.
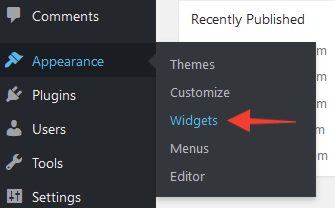
The "Shopr Carousel" widget can be setup like any other widget in WordPress by going to Appearance > Widgets in your dashboard:
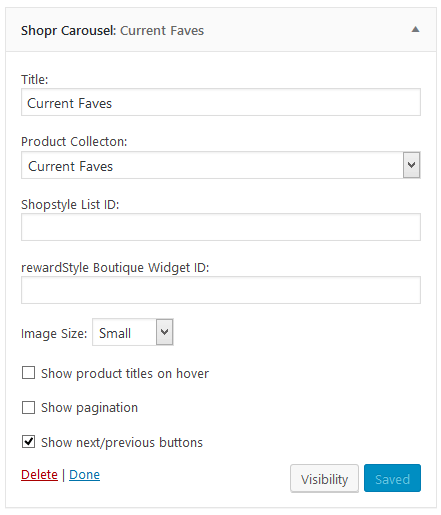
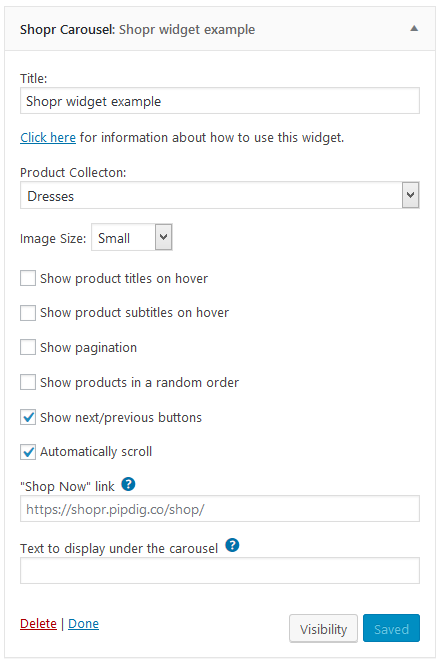
To display products in the widget, you will first need to create a collection of products. You can then select this collection within the widget options. In the example below, we've created a product collection called "Current Faves" then assigned this to the widget:
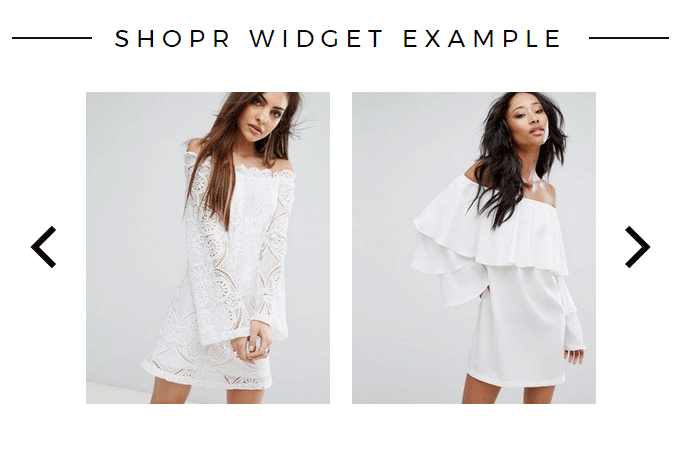
From start to finish, let's look at an example:
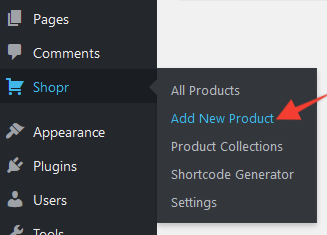
1. Add some products by going to the Shopr > Add New Product page in your dashboard:
If you have not yet setup any products, you will see an on-screen tutorial showing what each option means.
If you're not sure what products to add yet, you may wish to import our demo products.
2. Go to Appearance > Widgets in your dashboard:
3. Click the "Shopr Carousel" option and select the position you want to place it:

4. You can now select a product collection to display in the widget, as well as some other styling options:
If you would like to display this type of widget within a post/page, please see this guide.