Installing a Blogger template is easier than you might think. After uploading a single file, it is installed and you are ready to start blogging.
Don't have a blog yet? Please create one first at blogger.com.
Important Notes
- Do not try to open the xml file on your computer - it will display lots of errors.
- Your previous template will be replaced. Any code in your old template will be lost. You will keep all your blog content though.
- Before installation, you should remove any gadgets installed by your previous template (unless you'd like to keep them).
How to install your template:
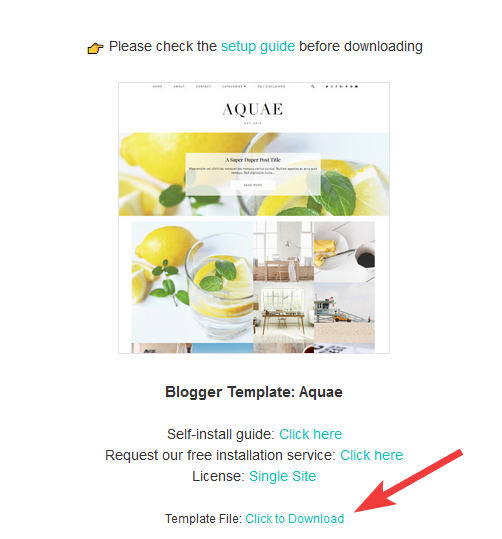
1. Download the template file from your email receipt. You should save this file to your desktop:
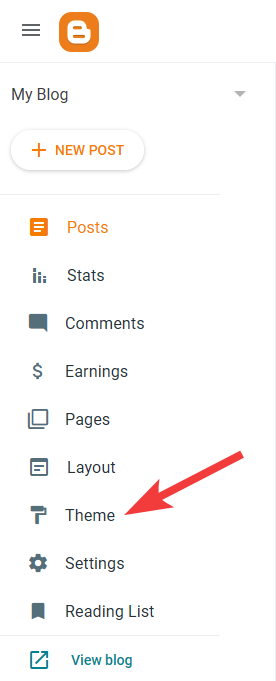
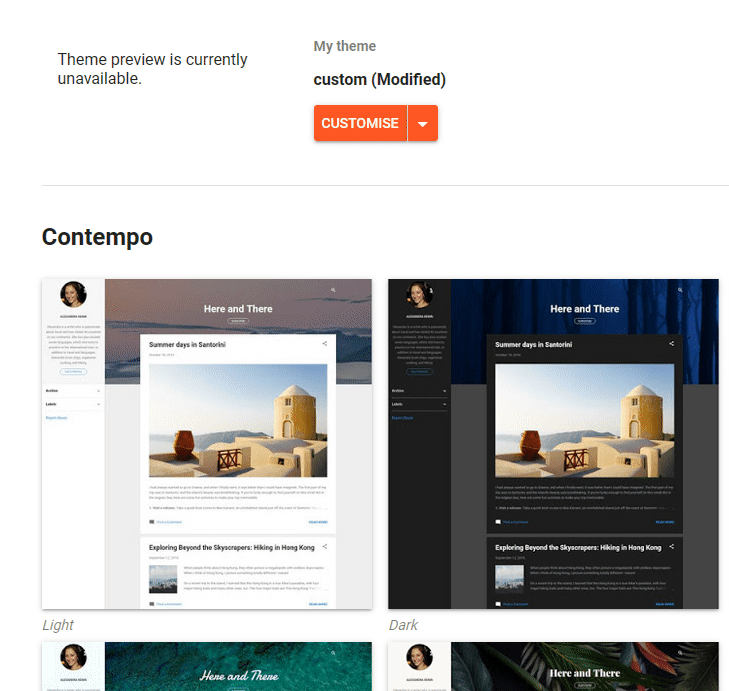
2. Log in to your blog at blogger.com. Go to the 'Theme' section of the dashboard:
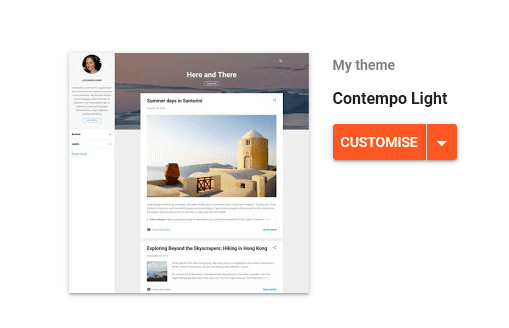
3. Click the icon next to the "Customize" button. Then select the "Restore" option:
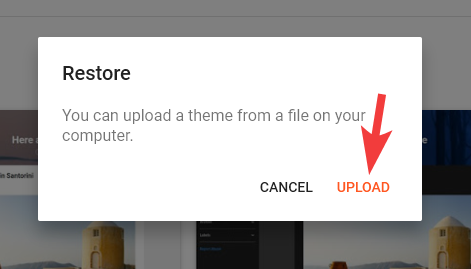
4. Click "Upload" and select the XML file you downloaded earlier. If you have not downloaded your template you should do that via this guide.
5. Now we can enable the Mobile layout. Click the icon next to the "Customize" button. Then select "Mobile settings". Make sure "Mobile" is selected, then choose the "custom" option from the dropdown. Then click "Save". The example below shows this:
That's it, you should be all set! You can continue to customize your template.
What's next?
- Add your social media icons
- Add your profile photo
- Change the number of posts displayed on the homepage
- Add pages and links to your main menu bar
- Setup our custom Instagram and Pinterest widgets.
- Display your Instagram feed in the footer/header via this tool.
- Depending on which template you purchased, there may be some more Instagram options available via this guide.
- Customize the colors, fonts and layout
The steps above will get your site up and running. You may also be interested in our Blogger Tips and Tricks section.