Please note the plugin used in this guide is no longer available. This guide is here for archive purposes only.
WordPress allows you to block access to any post/page unless the reader has a password. One example of this might be a school which allows access to certain students in a class, or a writer which releases content to patrons.
It is possible to add password protection to any post/page by using the "visibility" settings on the right side of the editing screen. Simply select "Password protected", then enter the password which people can use to access it.

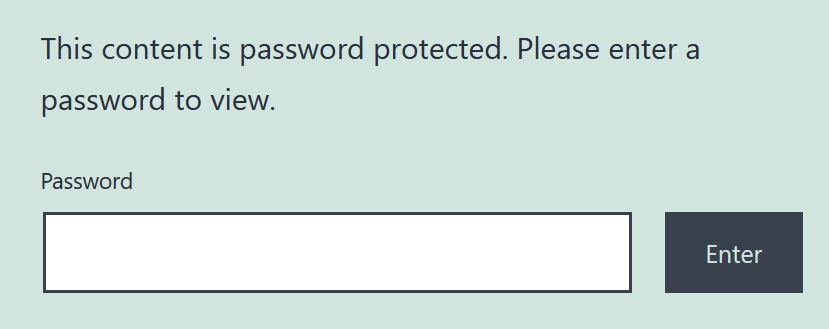
When a post/page is password protected, it will show the something like the following message:
“This content is password protected. Please enter a password to view.”
How to change the password protected message
If you would like to change the text, you can install the Change Password Protected Message plugin. This allows you to change the message for all password protected posts/pages, or change the message for a specific post/page alone.
Change the message for all posts/pages
1. Make sure the Change Password Protected Message plugin is installed and activated.
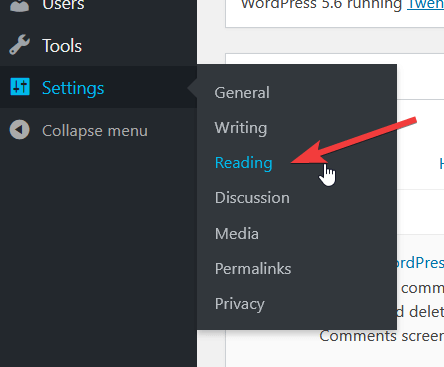
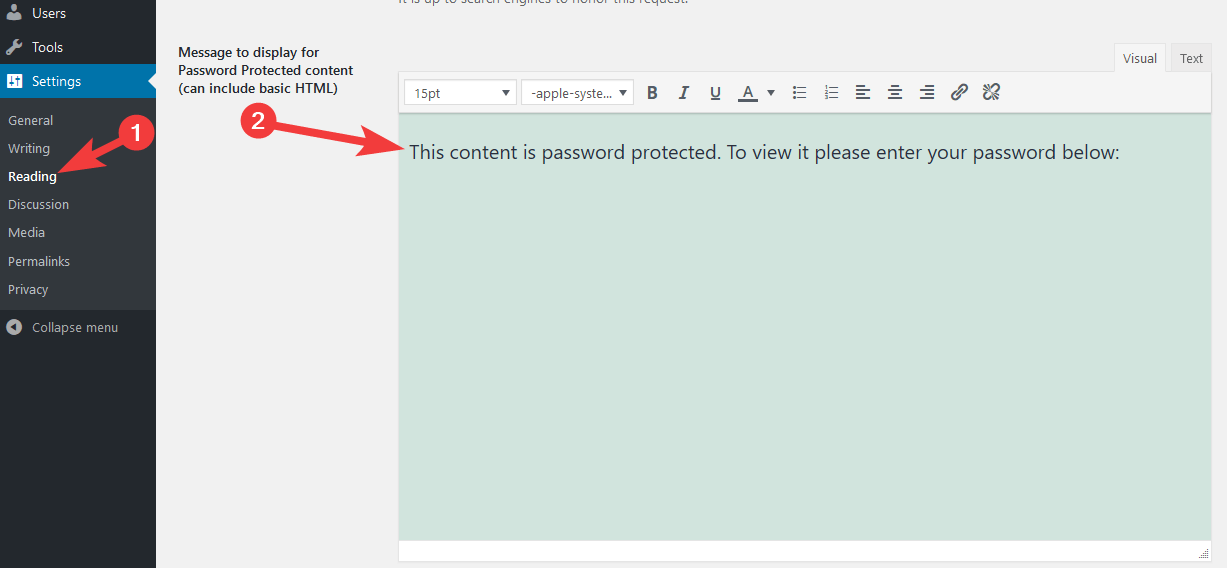
2. Go to the Settings > Reading page
3. You can now set the message via the option shown below:
Change the message for a specific post/page
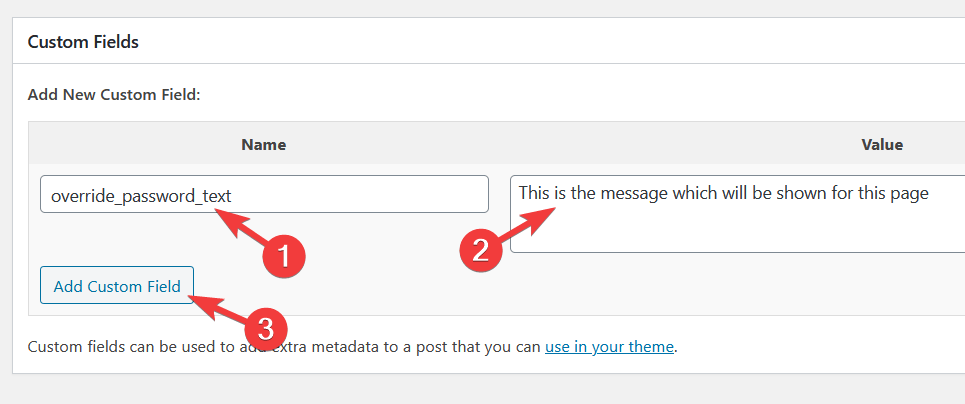
To override a the text displayed on a specific post/page, we can use a custom field. Follow the steps below:
1. Make sure the Change Password Protected Message plugin is installed and activated.
2. Go to edit the post/page.
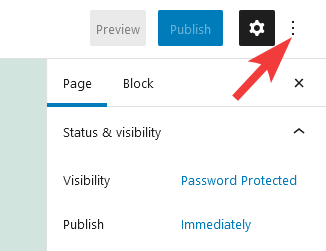
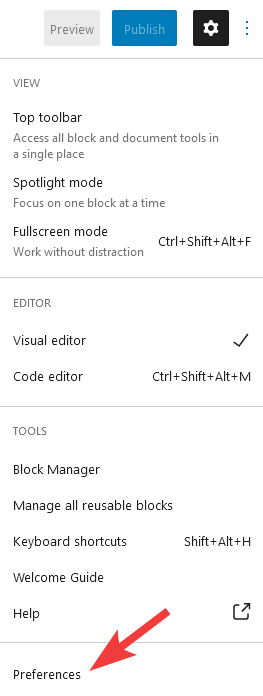
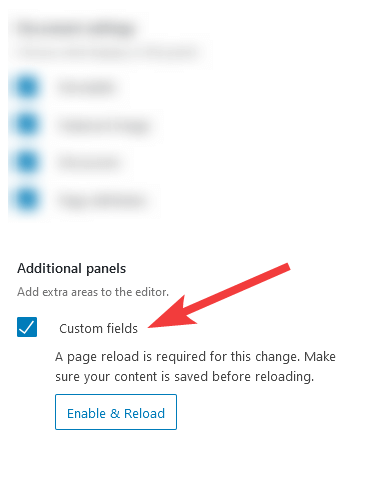
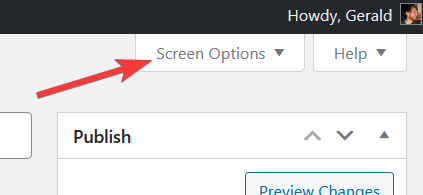
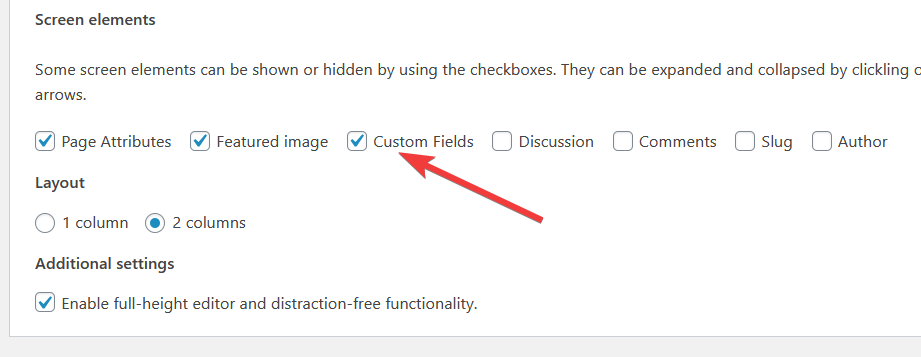
The next steps will depend on if you are using the new WordPress Block/Gutenberg editor or Classic Editor. Select an option below:
