Sometimes you might want to show photos in the Full Width Slider rather than blog posts. This is possible by installing the free MetaSlider plugin. Follow the steps below to do this:
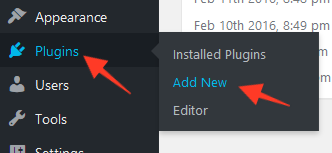
1. Go to Plugins > Add New in your dashboard:
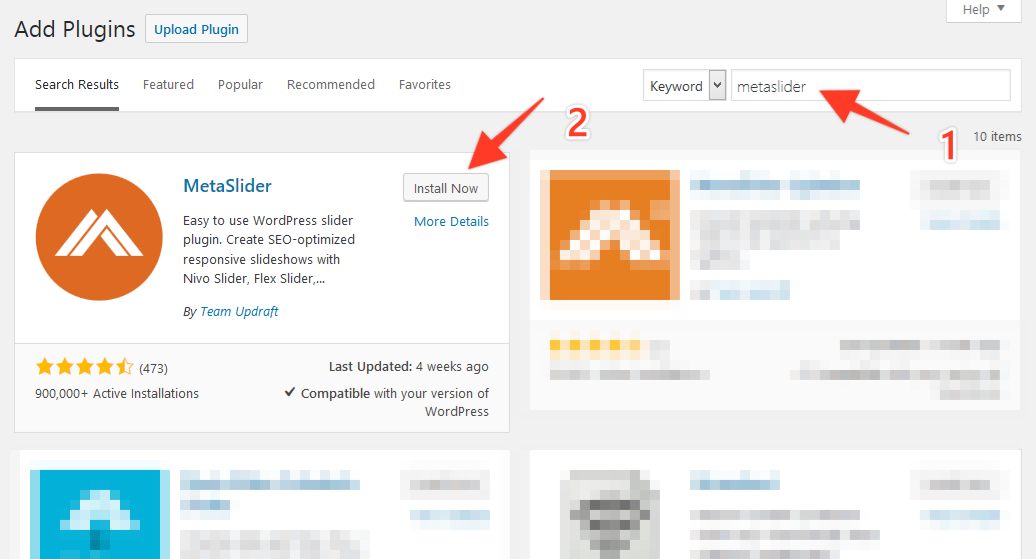
2. Search for "MetaSlider" then install and activate the plugin:
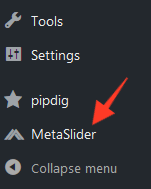
3. Go to the new "MetaSlider" page in your dashboard:
4. Follow the on-screen instructions to create your new slider.
5. After you have created your slides, go to the "Advanced" tab:
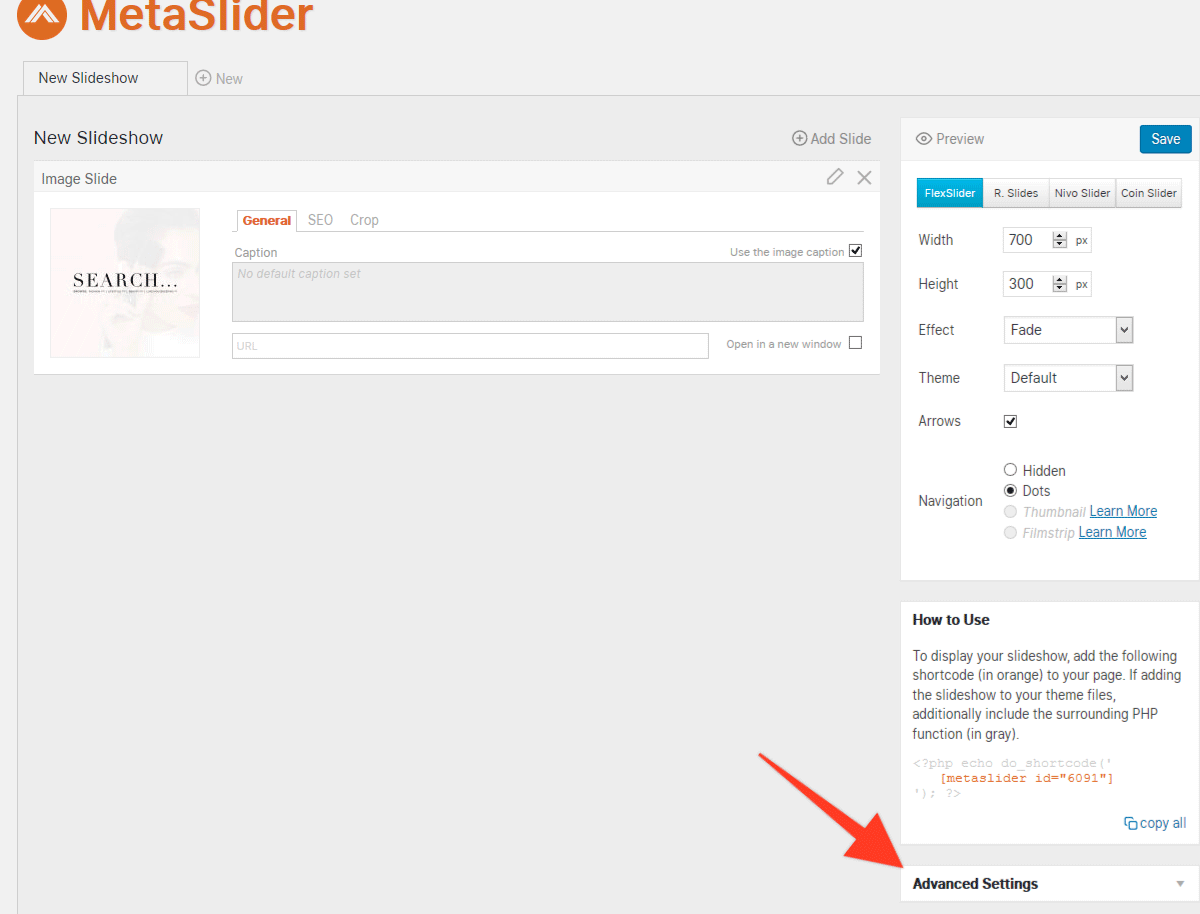
6. Enable the "100% wide output" option:

7. Now that the MetaSlider plugin is setup, we can add this to the theme options. Look for the "How to use" box on the page and left-click on this line:
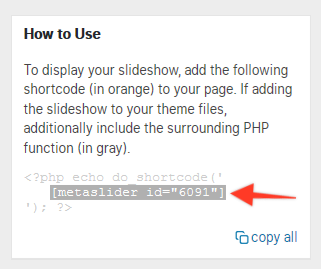
This will copy the code to your clipboard, which we can then paste into the theme options. In the example above, the code we should copy is:
[metaslider id="6091"]
8. Now go to the Appearance > Customize section of your dashboard:
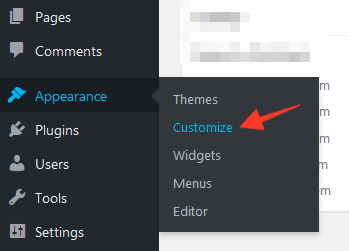
9. Look for the "Full Width Slider" tab in the options along the left side of the screen:

10. Scroll to the bottom of the panel and paste the MetaSlider code into the option:
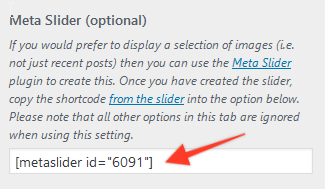
11. You should see the slides show up in the preview area of the Customize screen. However the size might not work too well. You may need to go back to the "MetaSlider" page in your main dashboard and adjust the sizing options at:
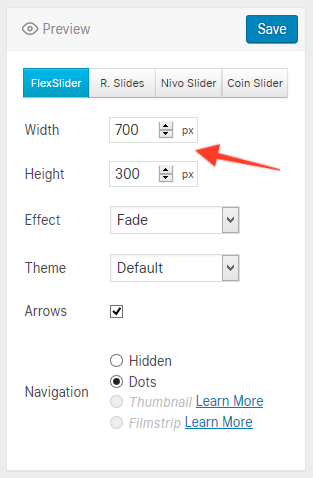
It may take some trial and error to find the best width and height options. After making any changes, you may wish to view your homepage to check how the new sizes look.