The Full Width Slider can be used to display a selection of blog posts at the top of your site. The example below is from our Blossom theme:
This guide will show you how to enable the full width slider, as well as covering some extra options available too.
How to enable the Full Width Slider:
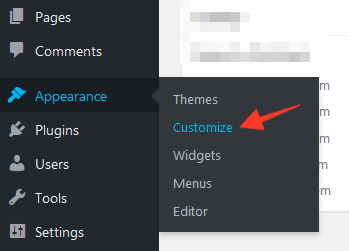
1. Go to the Appearance > Customize section of your dashboard

2. Look for the "Full Width Slider" tab in the options along the left side of the screen:

3. You can now select from various options to display blog posts in the slider:

How to display specific blog posts in the slider:
By default, the slider will display your most recent blog posts. However you might like to display some specific blog posts instead. You can do this by assigning a post category to the slider. For example, the options shown below would show posts from the "Lifestyle" category:

If you want to have complete control over the posts which display in the slider, you could create a dedicated category called "Featured" or "Post Slider", for example. Then assign this category to the slider. This means that any posts you add to the "Featured" or "Post Slider" category would show in the slider. If you publish a post that should not show in the slider, simply do not add it to that category.
Article tags: full width banner, carousel, hero slider, sliding, hide posts from full width slider
