If you're new to Google Adsense, you may wish to start with this guide before using this widget.
All of our themes include a Google Adsense widget which will ensure your ads are displayed correctly. You can place this widget in any position of your theme. For example in the sidebar, header, footer or even more sections your theme might include.
Looking to monetize your site? Check out our guide on Skimlinks
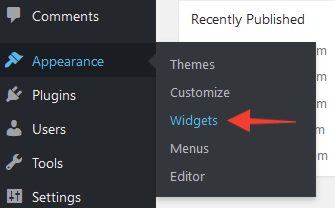
You can access the widget from the Appearance > Widgets section of your dashboard:
How to use the Google Adsense Widget
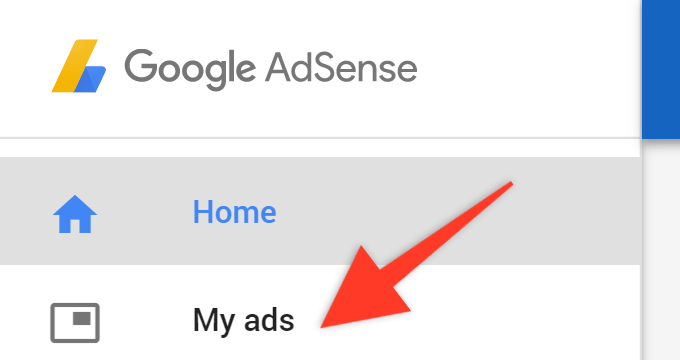
1. Go to your Google Adsense account and click on the "My Ads" button:
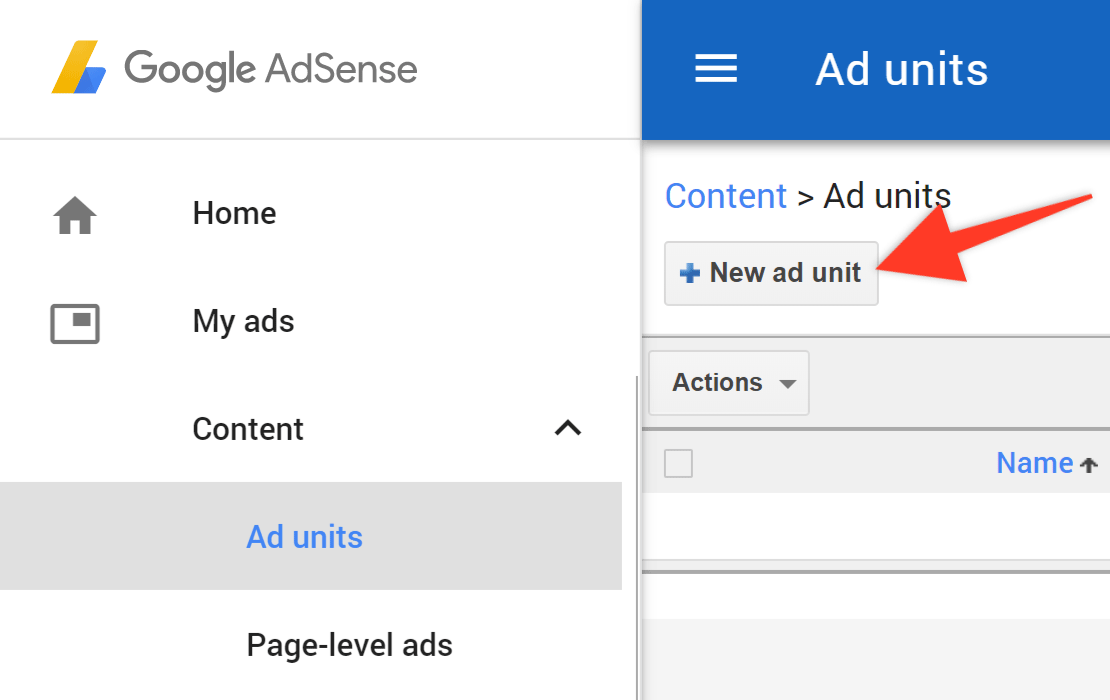
2. Here you can access all of your ads. If you have not yet created one, click the "New ad unit" button:
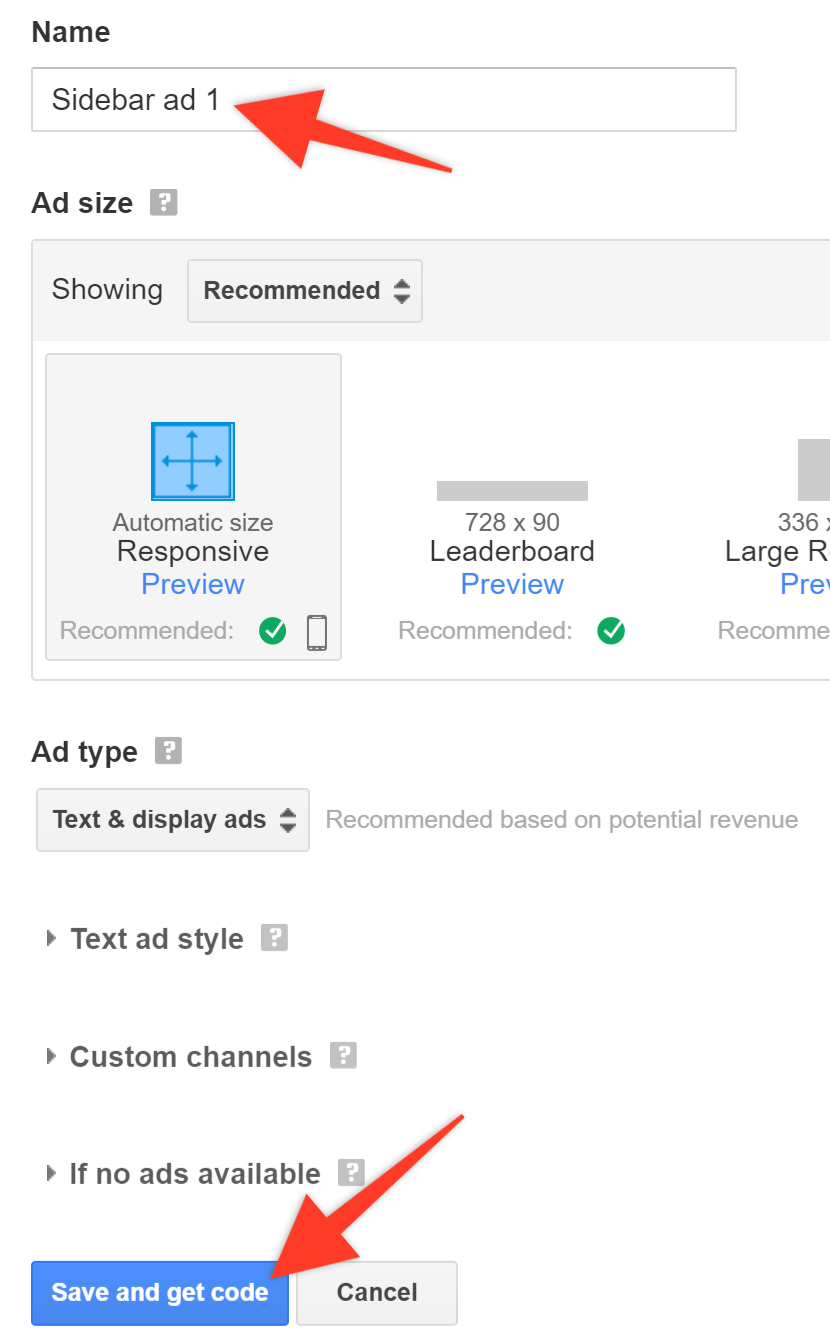
3. Select "Text & display ads" from the options:

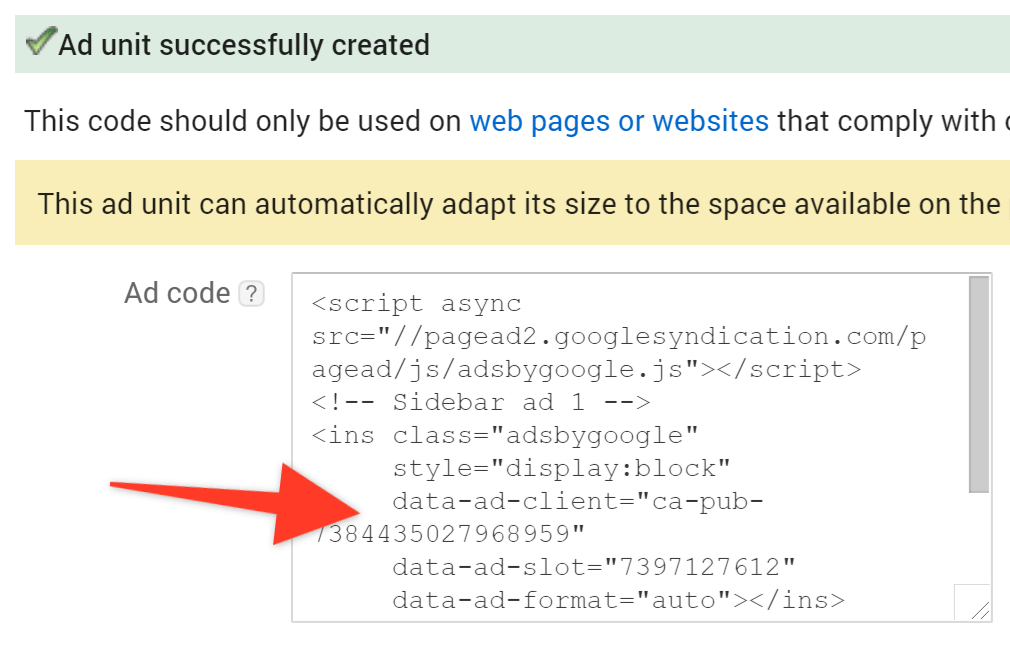
4. We recommend that you leave all of the options as defaults for bets results. Simply enter a name at the top and click the "Save and get code" button:
5. Copy the code provided:
6. Go to the "Appearance > Widgets" section of your WordPress dashboard:
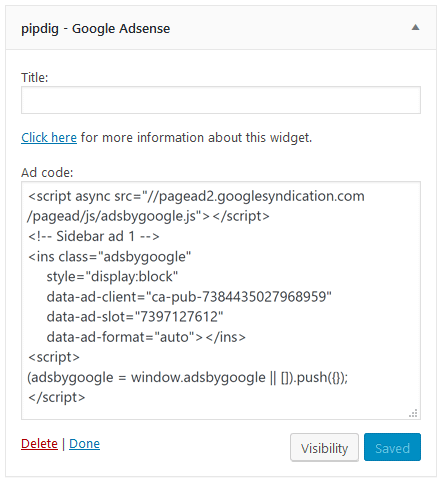
7. Paste the code into a Google Adsense widget in your blog's dashboard:

The ad should now be displayed in your chosen location. Please note, it may take 24 hours for ads to start working on your site. Before that time, the ads may appear as blank white spaces.
If you need any help setting up your Adsense account you can reach the Google Adsense team on their support forum.
Looking for ways to monetize your site? You may be interested in this guide.