A 'Look' is an image which displays hotspots. The hotspots can include a link to a product, for example.
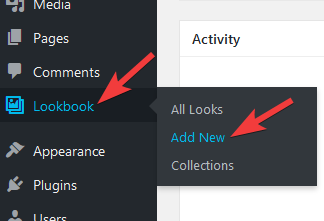
You can create a new 'Look' in the Lookbook > Add New page of your dashboard:
On the page which appears, you should first give your Look a title. This will help you to identify this Look in future.
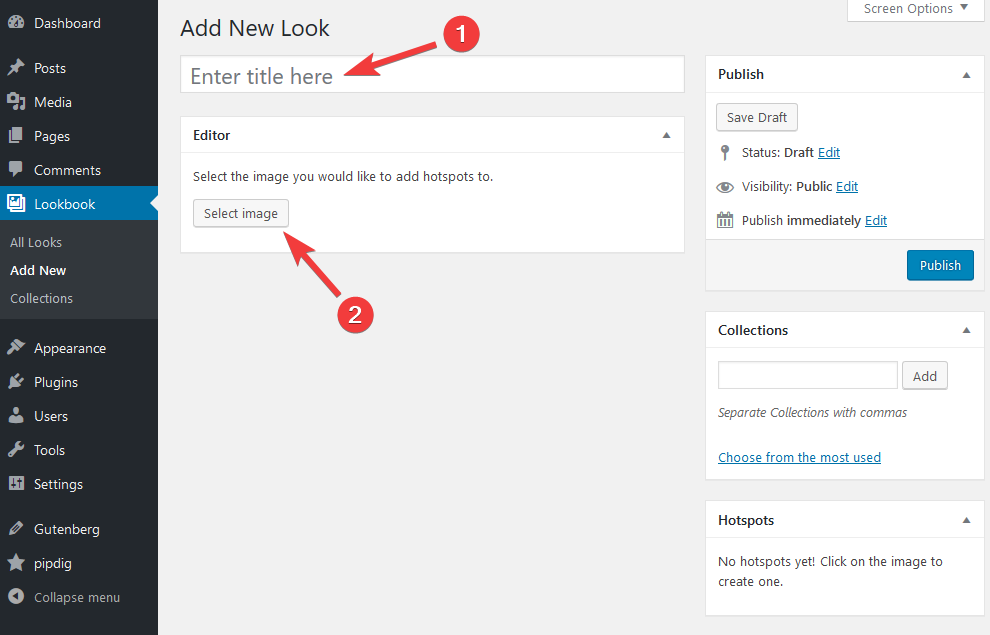
You can then upload the image by clicking the "Select image" button.
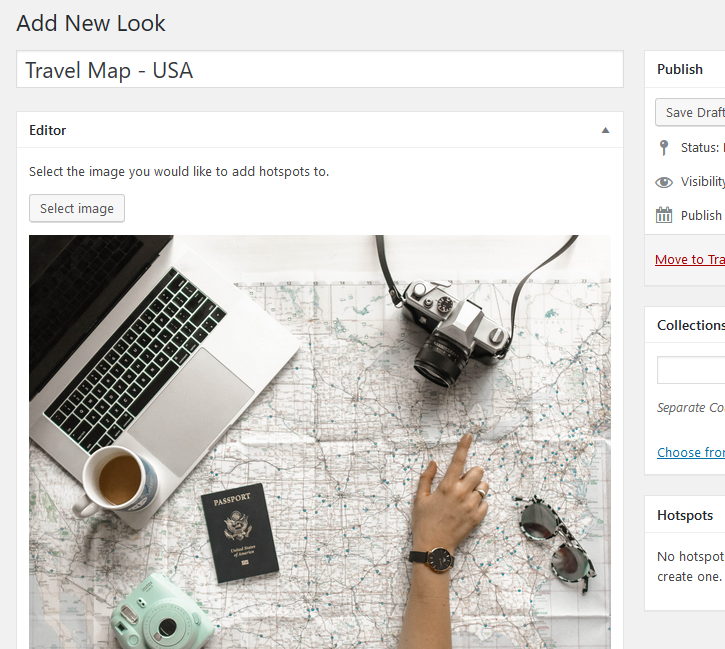
The the image should be no wider or taller than 1600 pixels, ideally. It can be any shape you prefer, e.g. portrait or landscape.
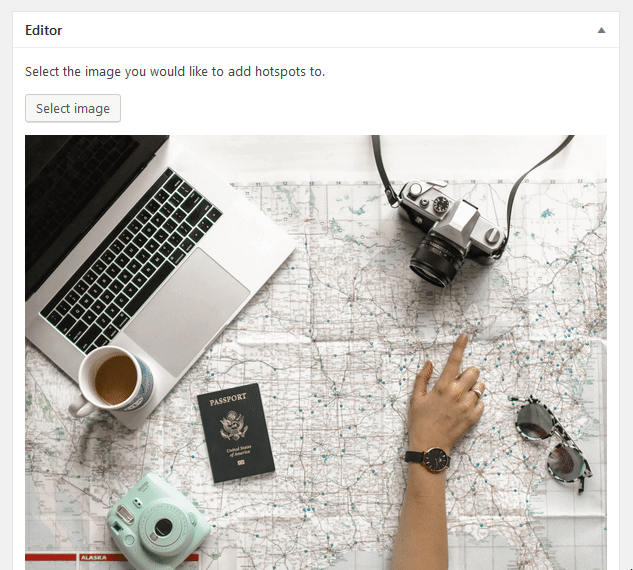
You can now start to add hotspots by clicking on any location. For example:
After clicking on the image, a hotspot can include a Title, Description and a Link. The "Title" is shown when hovering over the hotspot. The "Description" is shown under the title when the legend is displayed. The "Link" is where you are taken to when the hotspot is clicked.
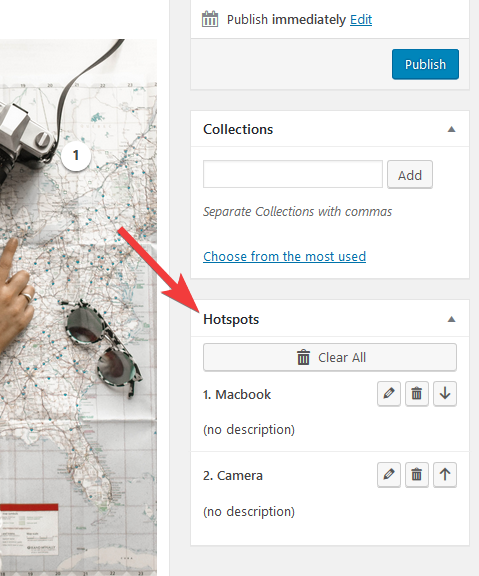
As you add more and more hotspots, you can also edit them in the "Hotspots" section of the editor. This will list all of the hotspots created so far:
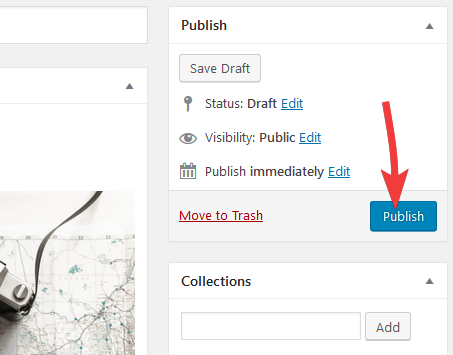
After creating all the Hotspots, you can save the Look by clicking the "Publish" button, just like editing a blog post:
Your Look is now ready to display on your site! You can display a Look in a post via this guide or display multiple Looks in a grid layout via this guide.