This guide relates to pipdig Blogger Templates. Please note that you may see different settings if you are not using our templates on your blog.
Important! Before getting started, you should be familiar with how to add pages and post categories to your navbar/menu.
All pipdig Blogger templates include the option of adding dropdown menus. See the steps below to give it a try!
How to create dropdown menus
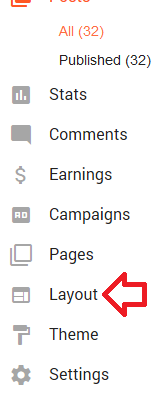
1. Go to the “Layout” section of the dashboard:
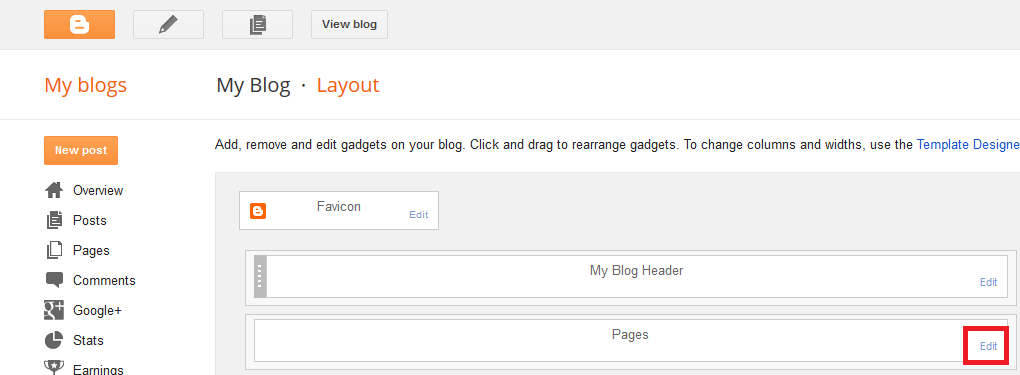
2. Click the Edit button in the “Pages” gadget:
3. Click the "ADD A NEW ITEM" button to add a new menu item:
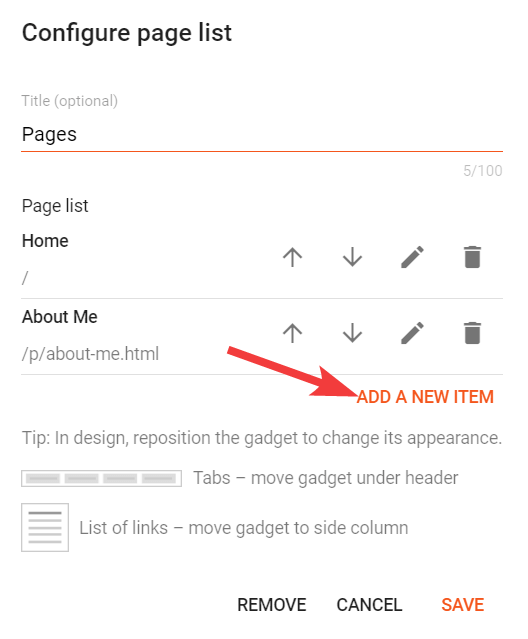
In the options that pop up, you can enter a "Page name" and "Page URL".
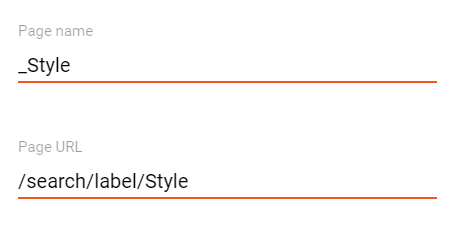
The "Page name" is the text which will be displayed for the menu item.
The "Page URL" is where the menu item will link to when clicked.
If you would like the menu item to be a dropdown menu, you can add an underscore _ to the front of the "Page name" text. For example, to create a menu item which drops down to a "Style" label, we would set the page name to "_Style" like this:
This tells your template to display this menu item under the menu item which comes before it in the list. For example, in the Pages gadget below we have setup some menu items and some dropdown items too:
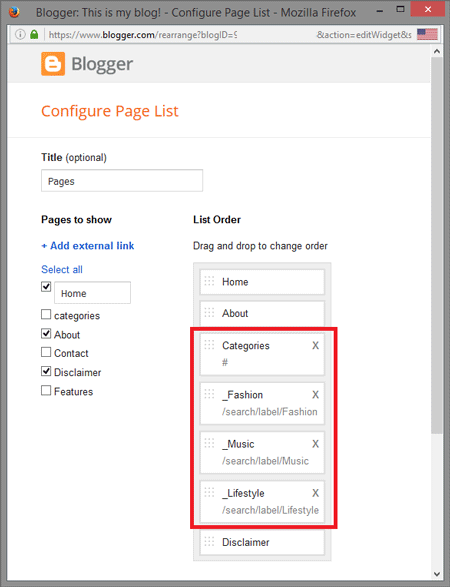
This tells the template to create the following menu items:
- Home
- About
- Categories
- Fashion
- Music
- Lifestyle
- Disclaimer
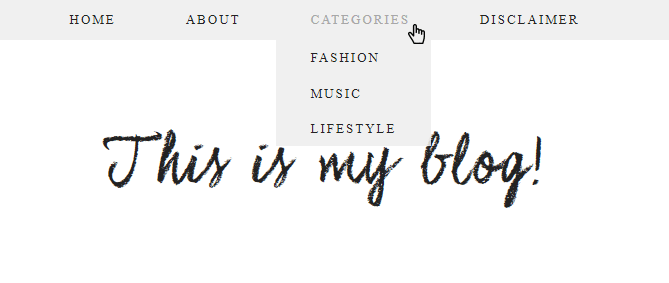
And this would create the following menu on your blog:
Don't forget that you can also move the menu items into position via the Up and Down arrows in the Pages gadget. So you can re-order them if required.